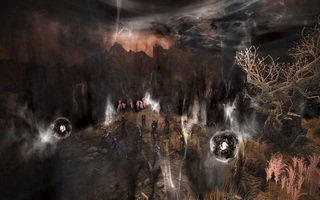
With the release of the new Edania Boss Challenge (Weekly Edania Bosses) region in Black Desert, you’ll have the opportunity to battle powerful bosses previously only known in legend.
Through the Edania Boss Subjugation, you will finally come face-to-face with the legendary foes you’ve only heard about in tales.
Edania Bosses – Entry Methods
Enter through the Throne NPC at each castle
Edania Bosses – Entry Conditions
To take on the boss subjugation at Edania castles, you must meet all of the following conditions:
- Accept the weekly boss subjugation quest at each castle.
- You’ll need to meet the required stats to challenge the boss of each castle.
| Edanian Castle Bosses – Entry Conditions | ||
Aetherion Castle | Nymphamaré Castle | Orbita Castle |
| Jordine | Rusalka | Enslar |
 350+ AP 350+ AP427+ DP |  375+ AP 375+ AP440+ DP |  385+ AP 385+ AP445+ DP |
Tenebraum Castle | Zephyros Castle |
| Cartian | Caphras |
 390+ AP 450+ DP |  395+ AP 395+ AP460+ DP |
- Only adventurers equipped with at least “red grade” gear (weapons, defense gear, accessories) – excluding artifacts and alchemy stones – can enter.
- Tamers cannot ride Heuklang during the Boss subjugations.
Edania Bosses – Weekly Quests
Added a new set of weekly quests, allowing you to defeat each castle’s boss and earn Edana Rising Tokens, which are required to challenge an Edana.
Each week, you can challenge the current Edana at only one castle. You may accept and complete only one weekly quest from the list below.
Once you’ve accepted a weekly quest, you’ll enter a private challenge instance via a dedicated window, ensuring you won’t be interrupted by other adventurers.
Edana Rising Tokens, obtained as weekly quest rewards, can only be used during the Edana challenge application period in which they were acquired. Each token is valid for 3 hours after you receive it.
Rewards for completing the weekly Edania boss quest
[Weekly] For the Throne: Aetherion

 Edana Rising Token – Azureach
 Edania: Azureach Chest
Open the Edania: Azureach Chest to obtain all of the following:
There is also a low chance to obtain: |
[Weekly] For the Throne: Nymphamaré
 Edana Rising Token – Emeraltides
 Edania: Emeraltides Chest
Open the Edania: Emeraltides Chest to obtain all of the following:
There is also a low chance to obtain:  Silent Crystal of Origin Silent Crystal of Origin Distorted Crystal of Origin Distorted Crystal of Origin |
[Weekly] For the Throne: Orbita
 Edana Rising Token – Amberwilds
 Edania: Amberwilds Chest
Open the Edania: Amberwilds Chest to obtain all of the following:
There is also a low chance to obtain: Silent Crystal of Origin Distorted Crystal of Origin |
[Weekly] For the Throne: Tenebraum
 Edana Rising Token – Ebonshade
 Edania: Ebonshade Chest
Open the “Edania: Ebonshade Chest” to obtain all of the following:
There is also a low chance to obtain: |
[Weekly] For the Throne: Zephyros
 Edana Rising Token – Crimsonroot
 Edania: Crimsonroot Chest
Open the “Edania: Crimsonroot Chest” to obtain all of the following:
There is also a low chance to obtain: |
How to Beat Edania’s Boss Battles
General recommendations
Before entering the throne room with the boss, prepare yourself: set the necessary presets, use buffs, potions, etc.
🏷️You won’t be able to use all of these in the boss area.
Place crystals according to the area’s crowd control effects to counter the boss.
Check the effects settings – menu (esc) – settings – video – effects – effects opacity should be 100!
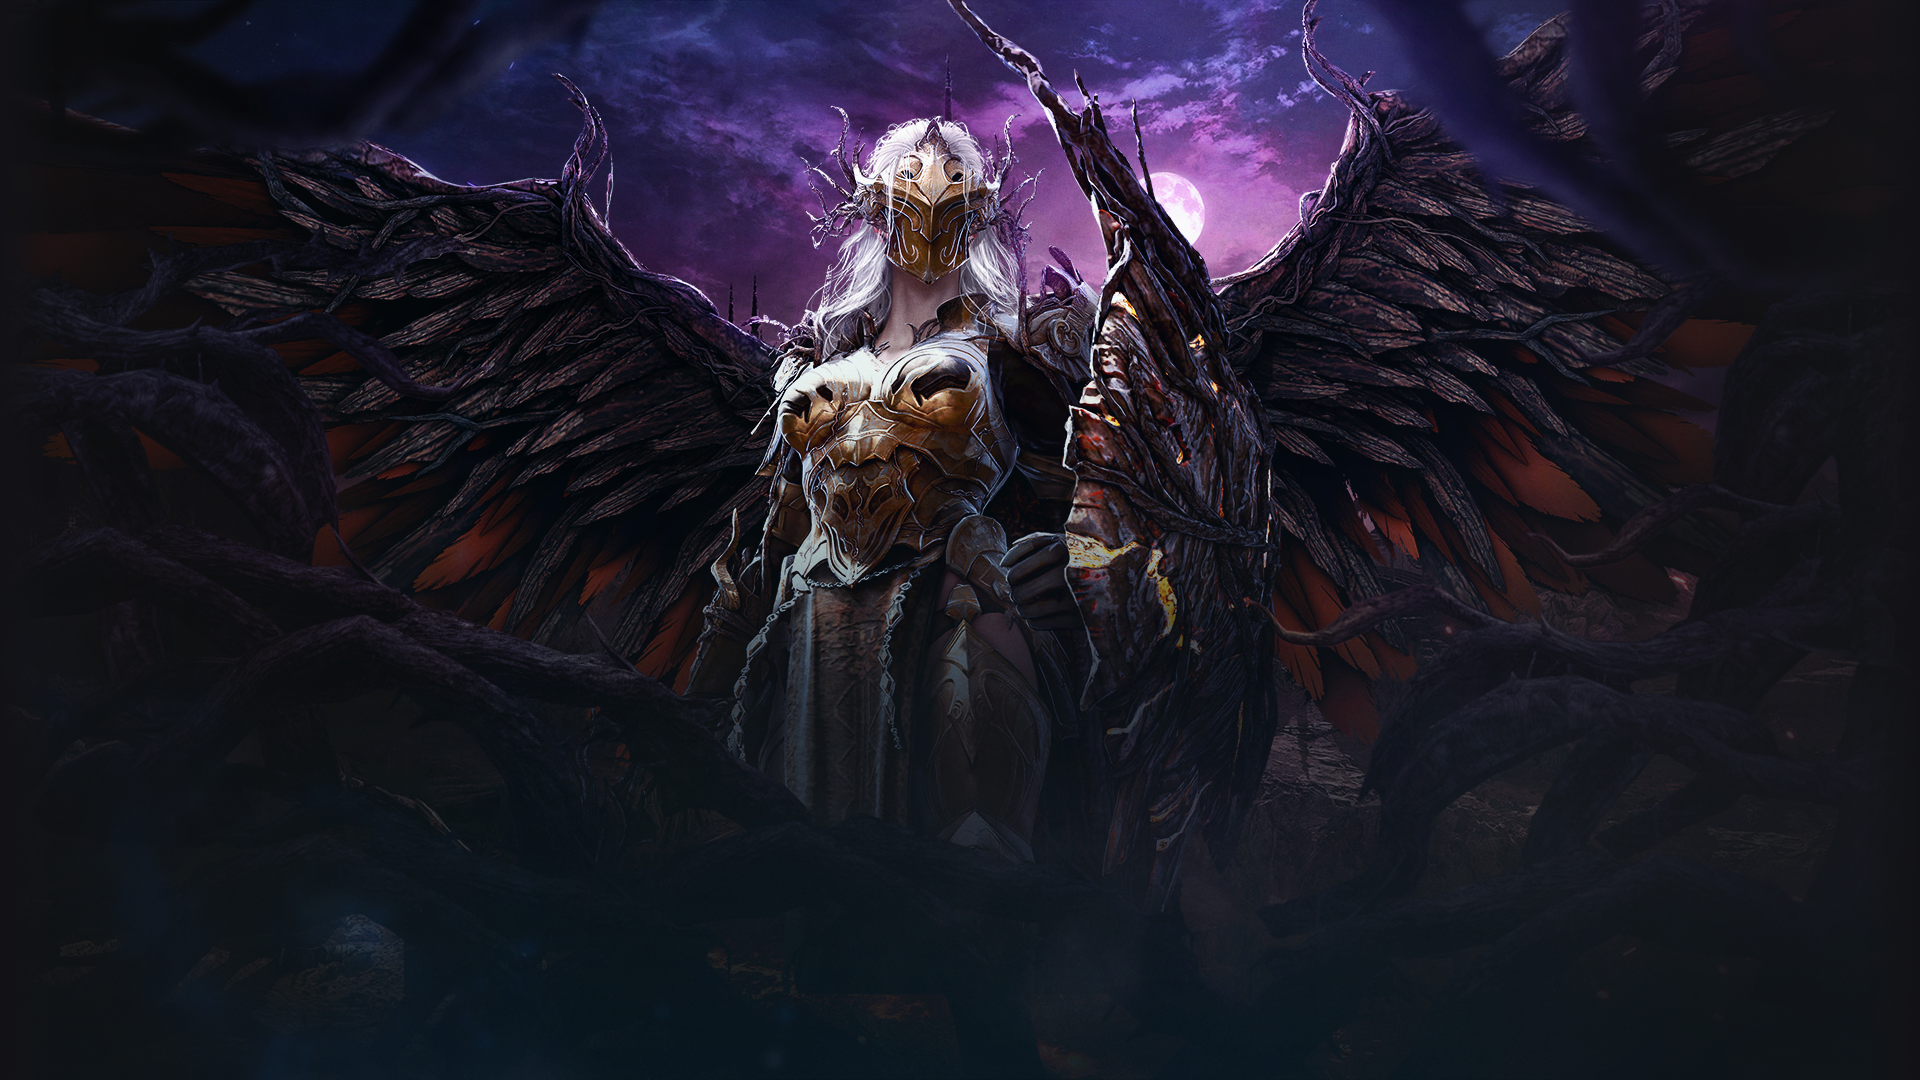
For the Throne: Aetherion – Jordine
When you get into the throne room with Jordine, look around, this is important.
The boss uses attacks with: Knockdown/Bound
Stage 1
First, kill the small monsters. After the phrase “The souls consumed by the Black Spirit begin to rage,” you’ll see red orbs flying around the room. Ignore them and continue attacking the monsters. Watch your step and dodge Jordine’s attacks.
During the battle with Jordine, carefully read what he writes on the screen!
Lightning Sphere
When you’ve killed the required number of monsters, a blue lightning sphere will appear in the center. Walk up to it and destroy it.
There are two options:
- Correct: the sphere triggered a buff on you, turning you into a red cloud. Then, fly around the room, destroying monsters, then land on Jordine and damage him until the buff wears off.
- Incorrect: the sphere didn’t trigger, but you were still buffed. Continue attacking the monsters and Jordine until a new sphere appears.
“I’ll cut you down in one blow!”
Jordine deals various AoE damage; just avoid the damage and try to hit Jordine.
Mini-game “Funny. Let’s play”
Three circles will appear in the boss area, and Jordine will jump out of these circles three times in a row.
At the start of the minigame, Jordine says, “Funny. Let’s play,” followed by a phrase that displays one word in a color — MORNING, NOON, or NIGHT. The color of the word corresponds to the color of the effect Jordine applies when appearing in the circle.
Your goal is to stand in the correct circle so that the ultimate at the end of the game won’t kill you.
How to determine which circle is “correct”:
The same rule always applies:
If Jordine says MORNING, you must stand in the circle where he appeared first.
If Jordine says NOON, you must stand in the circle where he appeared second.
And if it’s NIGHT, you must stand in the circle where Jordine appeared third time.
Therefore, this stage is more about paying attention. Watch where he’ll jump out from and stand in the right circle.
You don’t need to chase Jordine; just stand in the right circle – then you’ll only be stunned when he hits you.
If Jordine says “You see everything ahead,” you’ve executed the mechanic correctly.
If you’re unsure whether you’ve executed the mechanic correctly, press the sharp dodge (V). However, you’re only allowed one error due to the cooldown.
After this, Jordine will be stunned for a while, so quickly attack him.
Then wait for the blue sphere in the center of the room again. Destroy it, and you’ll become a spirit.
Stage 2
Jordine summons a dragon. Don’t touch Jordine. Only attack the dragon!!!
Defeat the dragon, now attack Jordine.
The phrase “Jordine’s blade gleams with a bright light.”
After this, Jordine begins moving around the room, trying to strike you suddenly – don’t stand still! If he doesn’t hit you, he will be debuffed with a defense reduction.
For the Throne: Nymphamaré
The Mermaid is one of the easiest bosses in Idania. All you need to do is watch your step and stay in the safe zones, which are clearly marked on the floor.
The boss uses Stiffness/Stun/Freeze attacks.
During the fight, try to stay behind the Mermaid at all times to deal more damage.
Whirlpools
“My grudge will never go away until the end of my days.”
After a few minutes of fighting, the Mermaid will create a large number of whirlpools on the floor. The whirlpools will appear where you stand. Avoid standing on the whirlpool, or it will launch you and deal significant damage.
Towers
When the Mermaid raises her hand, towers will appear around the arena. The towers will have beams of two colors, red and blue. You must destroy the towers with the RED BEAM. Leave the blue ones alone.
After this, all the towers will collapse, and red and blue circles will appear in the arena. You need to stand in the BLUE circle, avoiding the red ones.
If you do everything correctly, the Rusalka will be debuffed and you can attack her without any problems.
Blue Circles
Later, blue circles will appear in the arena; avoid them.
The rest of the time, attack the boss from behind, avoid attacks by watching your step, and stick to the center or edge of the arena.
Breaking green spheres along the edge of the arena can restore some HP.
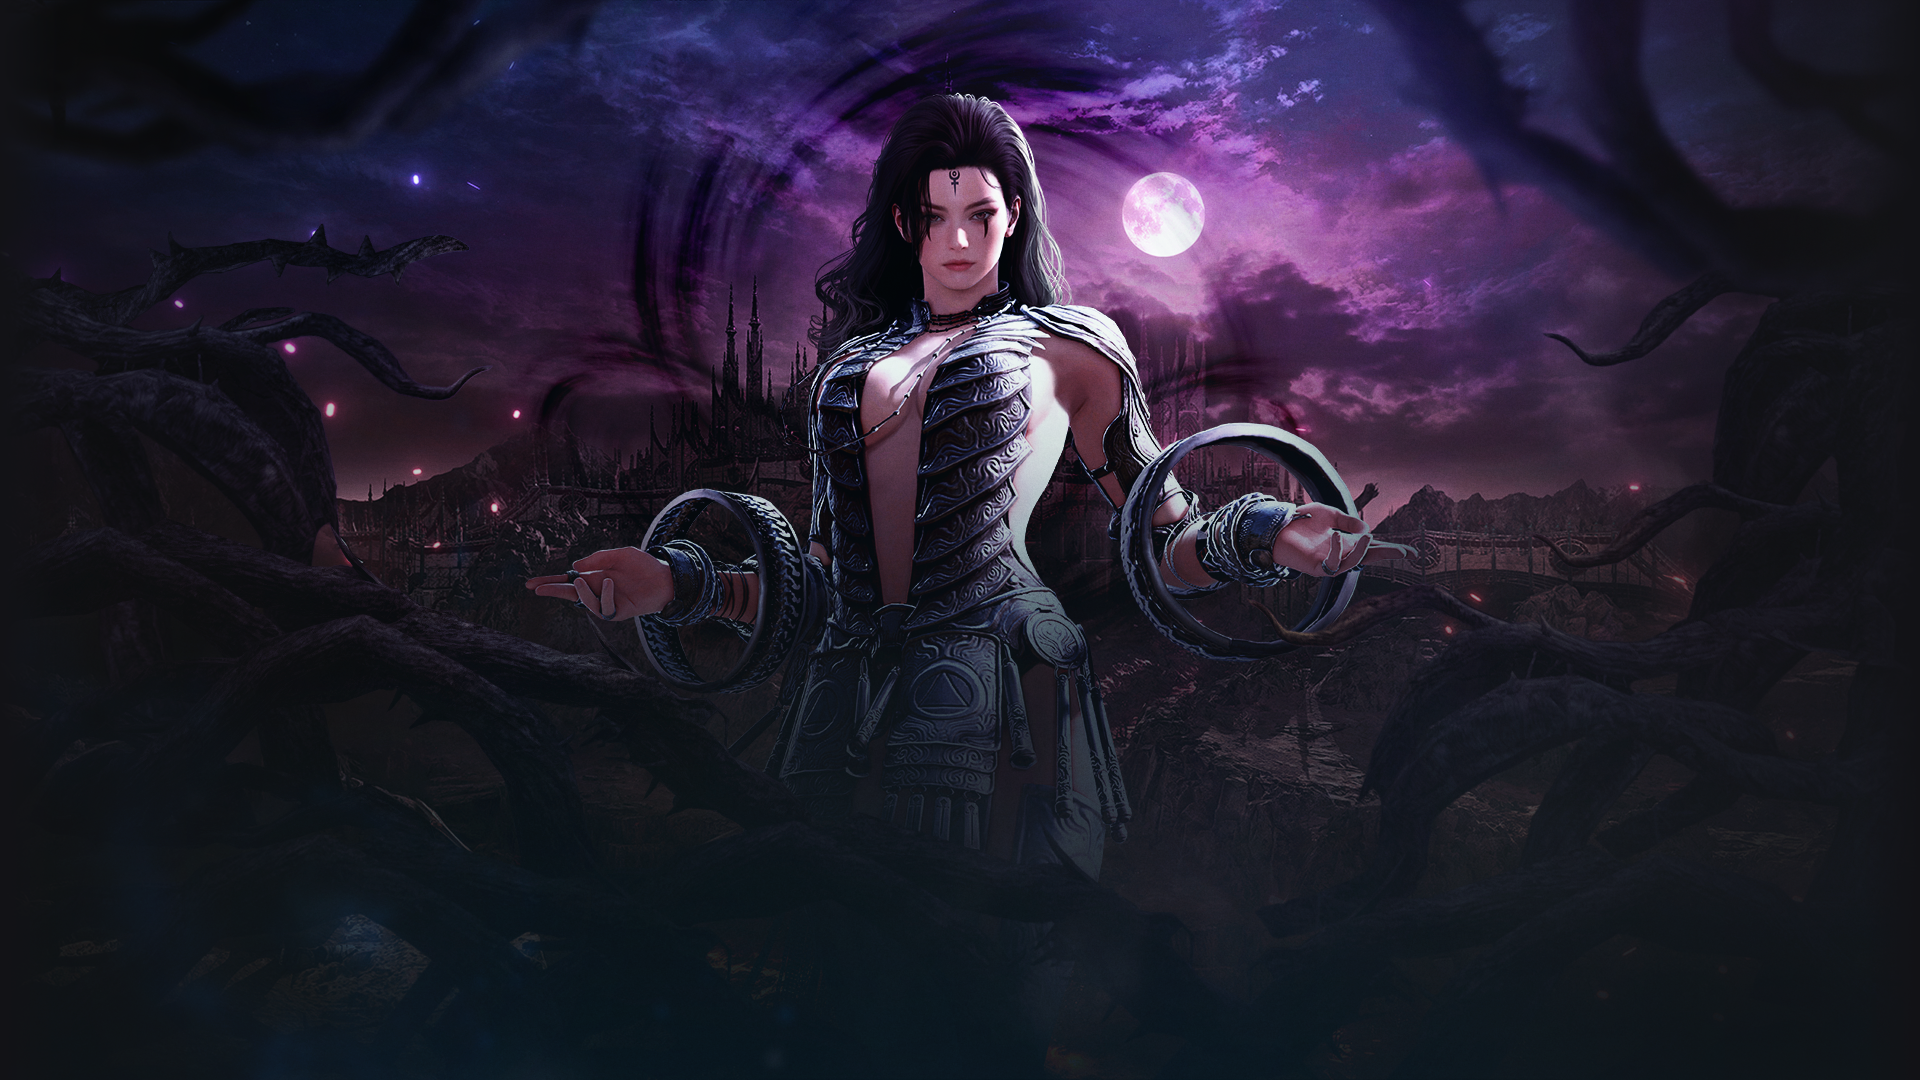
For the Throne: Orbita
You’ll need to be vigilant in the battle with Enslar.
The boss uses attacks with: Knockdown/Bound
Guard Attack
During the battle, Enslar actively uses various tactics with her guards.
Ensla summons guards that move in a precise, even trajectory, or in a specific direction she indicates. You simply need to move to the side or behind the boss and let them run.
Light Attack
“I Punish with Light”
During this stage of Enslar, circles of light will appear in the arena. Avoid them. If you stand in the circle, you’ll suffer Knockdown/Bound, as well as light damage.
Area Attack
“Glory to Calpheon!”
After saying “Glory to Calpheon!”, Ensla deals double damage across the entire arena. Only invulnerability can save you here. Use your character’s skills to avoid damage.
Battle Effects
During the boss battle, you can gain a buff.
Yellow crystals will periodically appear around the center of the arena.
If you damage them and stand in the area where they explode, you’ll gain a temporary buff.
Phase 1
Effect: “Attack +100, Defense +100 for 15 sec.”
Phase 2
Effect: “Attack +200, Defense -100, HP Recovery -50% for 15 sec.”
Phase 1 Main Mechanic
“There will be no third life!”
After the phrase “There will be no third life!”, Enslar will appear in the center with shields, preventing you from damaging her.
At this point, four copies of Enslar will appear in the four corners of the arena, launching energy balls at the boss. Your task is to prevent them from reaching the boss and absorb the balls yourself. Simply catch the orbs and prevent them from reaching the boss. You can catch the orbs with your character or deal damage to them, causing them to explode.
Note that it’s best not to destroy the yellow crystals that provide a temporary buff; save them for the final stage. When Enslar is stunned, destroying a crystal will grant you an additional buff that deals more damage.
Phase 2 of the Battle
For the first minute of the battle, Enslar is invulnerable, and you simply need to dodge her attacks.
Then, waves of monsters will appear in the arena, which you must destroy. They aren’t very strong.
Monsters from the Portal
When Enslar reaches 50% HP, she will open a portal, and copies of herself will begin to appear. However, you only need to destroy the four copies located in the corners of the arena.
After this, Enslar will stand stunned in the center; all you need to do is destroy her.
For the Throne: Tenebraum
The battle with Cartian isn’t very difficult either. The challenge is to avoid falling off the platform during the fight.
The boss uses Knockback/Knockup attacks.
Stage 1 – Destroying Pillars
In stage 1, you must destroy three pillars located on the floors.
I recommend destroying the middle pillar first, then the left one, and then running over the top to the right one.
This isn’t a difficult stage, but try to attack carefully to avoid falling down. The darkness below rises over time.
When you attack the pillars, Cartian will try to hinder you. His attacks aren’t strong, but they hinder his control, so try to hit the pillars with sustained attacks.
Stage 2 – Fight with Cartian
After you’ve destroyed all the pillars, ascend to the very top of the arena to fight Cartian. The fight will start automatically.
The fight with Cartian itself is straightforward. Try to manage your stamina and avoid jumping too much on the platform to avoid falling.
First Mechanic
“Vanish!”
Cartian fires a beam in front of her, constantly appearing in random locations. Her final skill is an arena-wide attack.
After Cartian reaches 50% HP, she will deal various area attacks. Just watch your step, dodge, and move to safe areas.
“Darkness approaches, robbing everyone of their life.”
This mechanic is both very useful and dangerous. After this phrase, a sphere will appear and move toward you. Your goal is to lead two spheres to Cartian, with Cartian standing between the sphere moving toward you and you.
When the two spheres hit Cartian, she will be stunned and have reduced defense, giving you time to deal significant damage.
Otherwise, Cartian’s other attacks are harmless; the main challenge of this battle is staying on the platform.
If you fall off the platform, restart the battle immediately (Esc) to avoid losing your buffs.
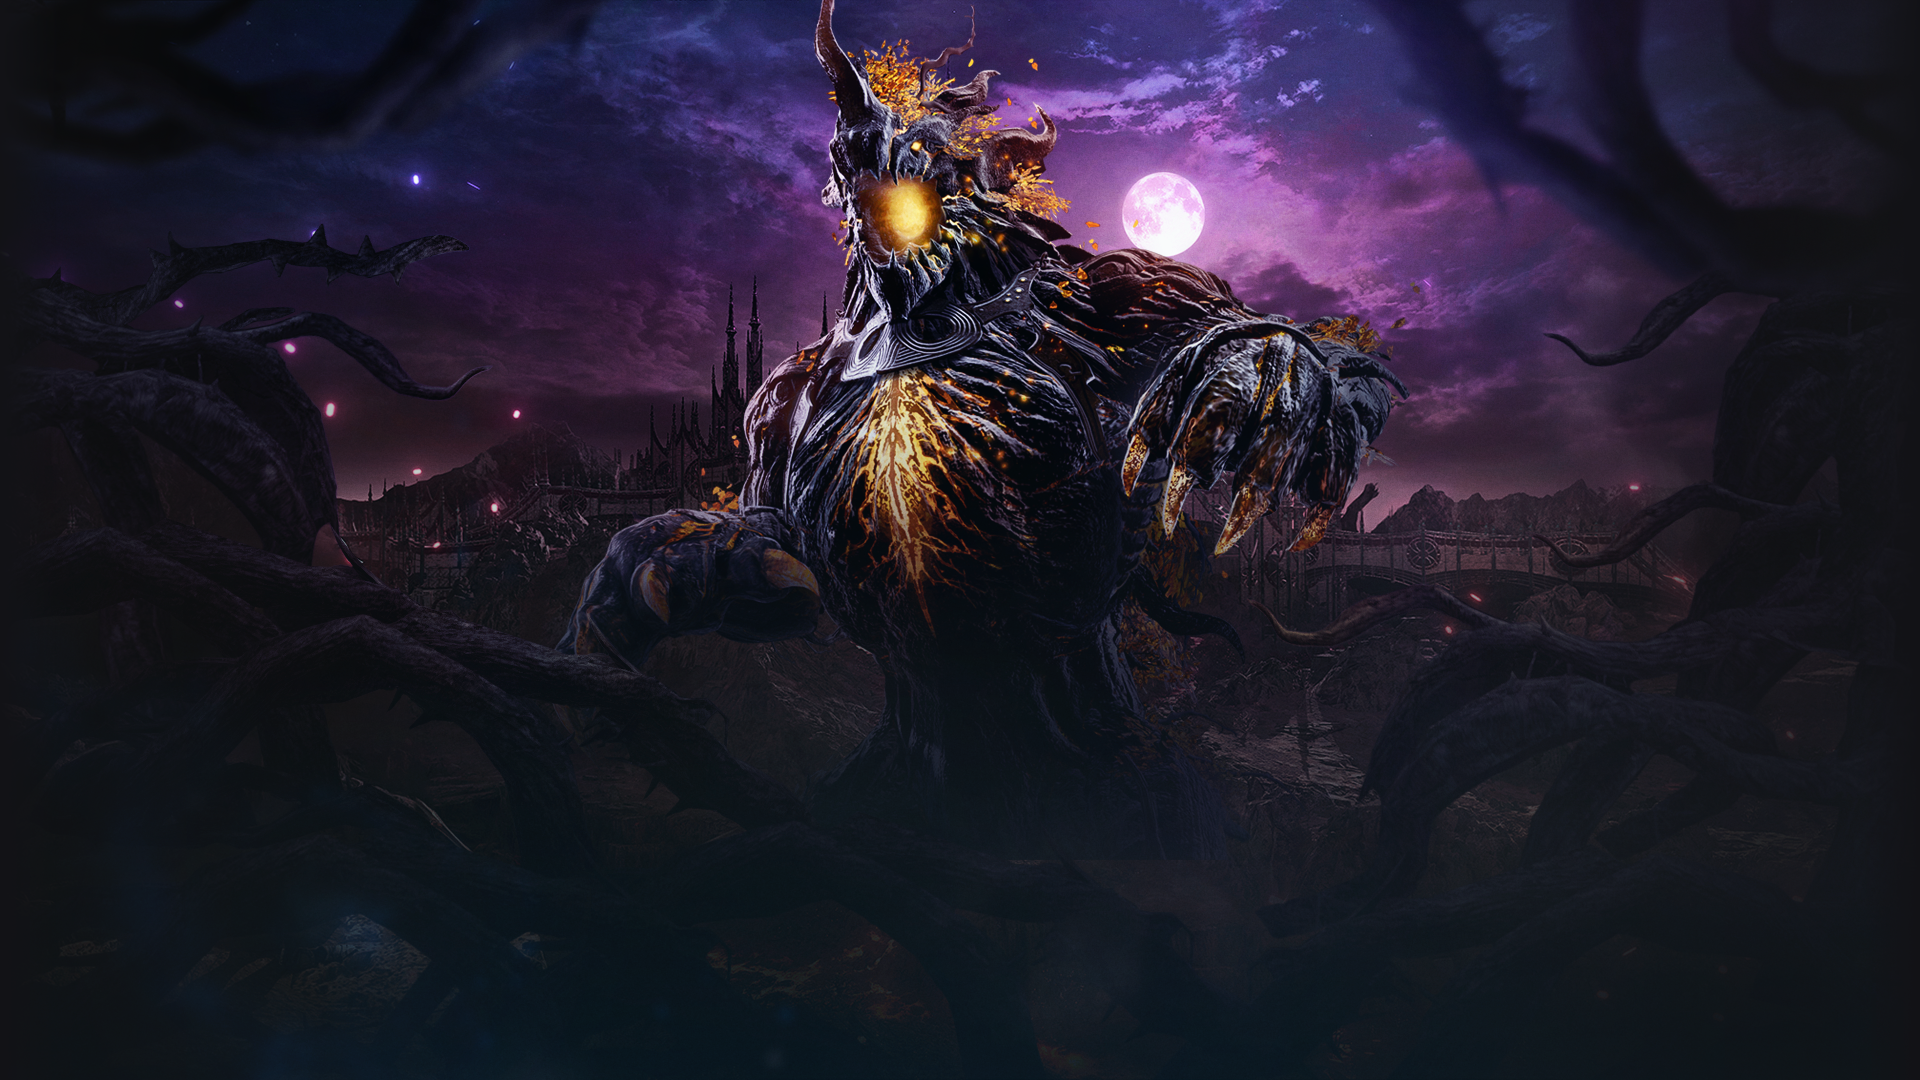
For the Throne: Zephyros
Although this boss has high requirements, it actually has the simplest battle mechanics.
The boss uses attacks with: Knockdown/Bound
Stage 1
In the first stage of the battle with Caphras, the boss is in his monster form. There’s no particular difficulty; just attack him from behind and dodge his attacks.
“What Impudence”
After the boss reaches about 75% HP, he will stop and rocks will begin falling throughout the arena. Continue attacking the boss, but avoid the rocks, as they can cause significant damage when they fall. The rocks fall periodically, but sometimes several will fall at once.
Once the boss’s HP drops below 50%, he will enter the second stage of the battle.
The monster will roar and begin to fill the entire arena with fire. After this, energy spheres will appear in random locations throughout the arena. You need to destroy these orbs to gain a buff protecting you from some of the boss’s fire attacks. You won’t take damage from the fire on the floor.
When the boss reaches 25% HP, he will summon a Kamasylve tree and attempt to restore his HP.
At this point, it’s important to have the fire buff (from the orb) active; dealing damage and stunning him will be enough. But even without the buff, the boss will simply restore some HP, and you’ll have to fight him a bit longer.
Stage 2
This is the battle with Caphras in human form. There are no mechanics in this stage; simply attack from behind, dodge, and watch for the boss’s attacks.
If you see a red ball of energy growing above the boss, be prepared—it will soon fall and deal area-of-effect damage.
When the boss reaches 50% HP, a huge meteorite will fall across the area, which can cause significant damage. Just be careful.
Just like in the previous stage, an energy sphere will appear, providing protection from fire damage.
Conclusion
Looking at all the bosses in Edania so far, I’ve gotten the impression that the higher the level of the boss, the easier the mechanics of the fight. Jordine seemed the most challenging of them all, even though he’s the starting boss.